Losing access to your Gmail account is a serious challenge that can frustrate you. You should guard against it, especially now that hackers are constantly improving their methods of stealing your data. Luckily, a way to protect your account is by learning how to enable/disable two-factor authentication on Gmail.
Two-factor authentication (2FA) provides an additional layer of protection. It requires a confirmation code or prompt from a trusted device each time you log in from a new device. In this guide, we will show you how to enable or disable 2FA so that you can enjoy a higher level of privacy and prevent data loss.
1. Enable/Disable 2FA for Gmail on Windows
To enable/disable two-factor authentication on Gmail on a Windows device, you must tweak some changes in the settings application. Remember that you can also sign up for a Microsoft account using Gmail. Use the following steps below to do this.
- Open Gmail on your preferred browser.
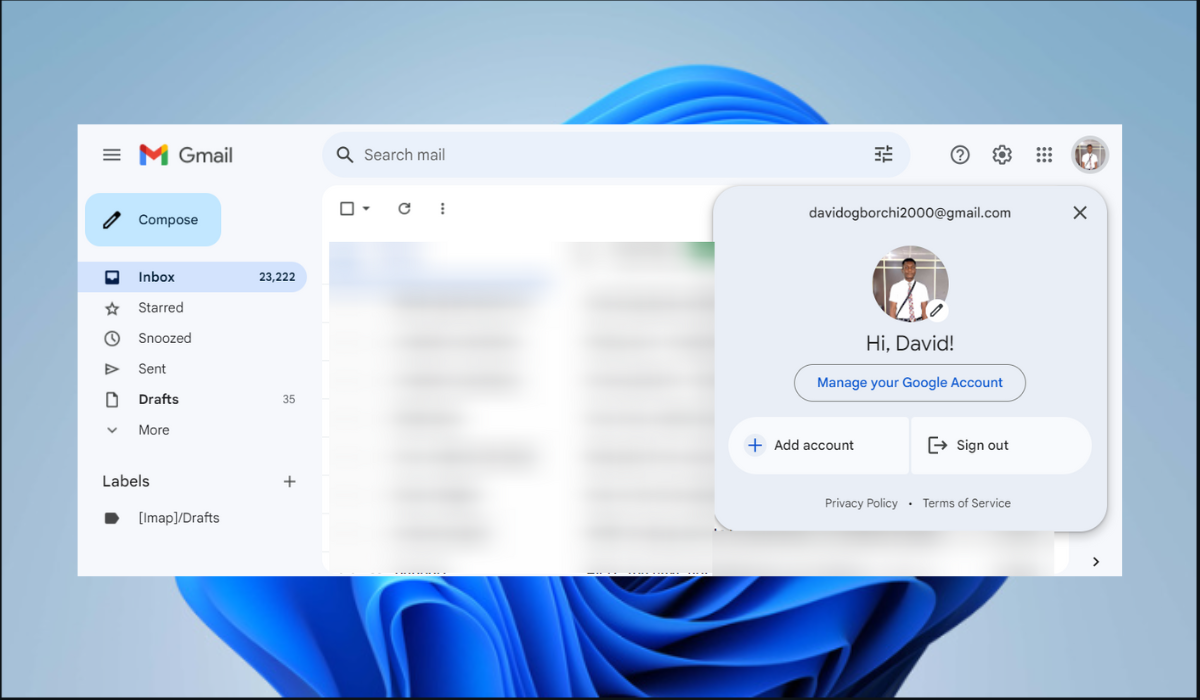
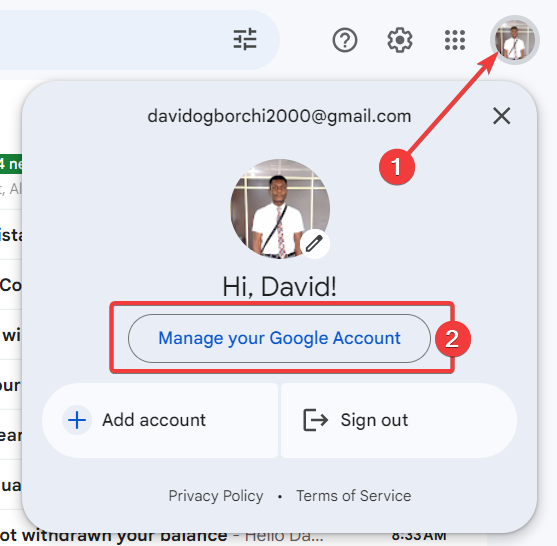
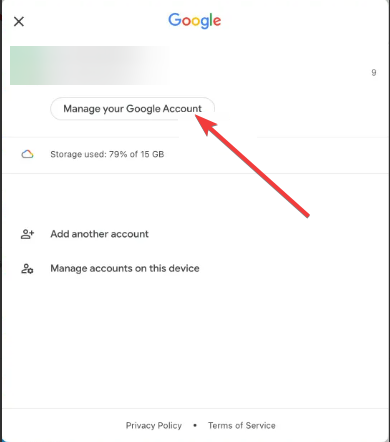
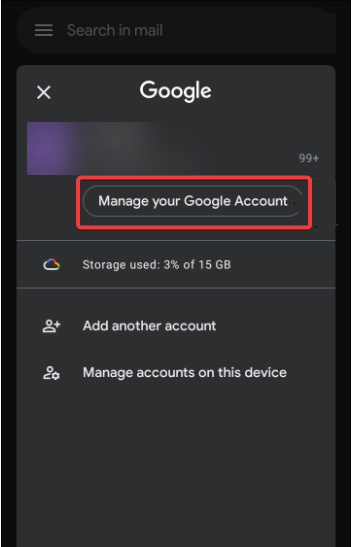
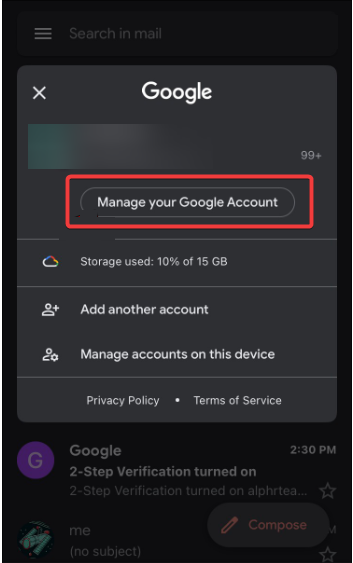
- Click on your profile picture in the top right corner of your screen, and select Manage Your Google Account.
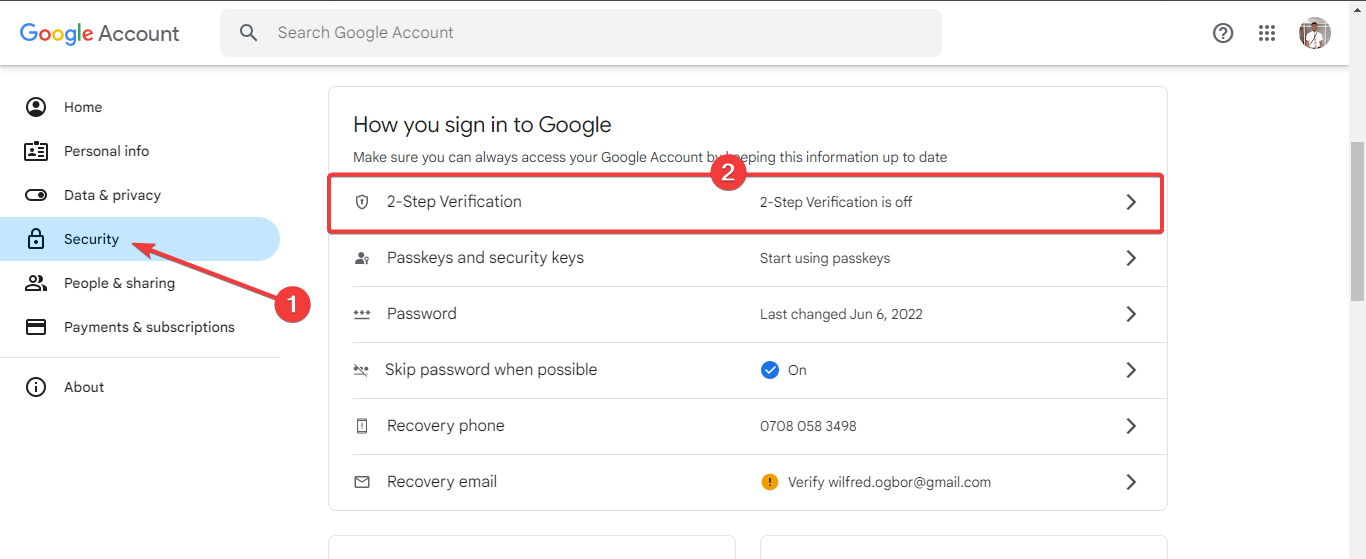
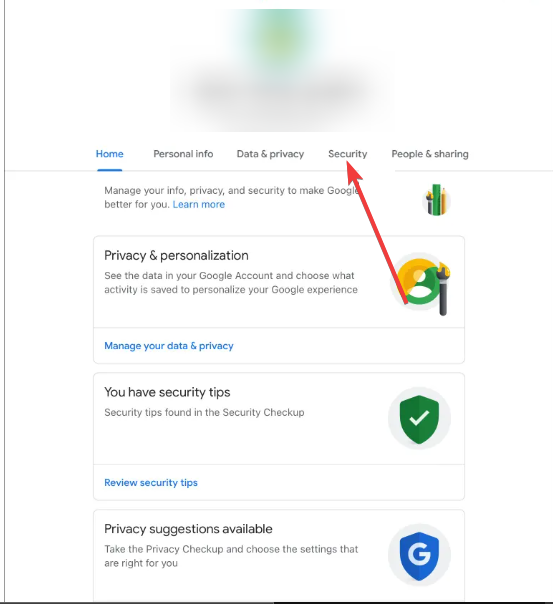
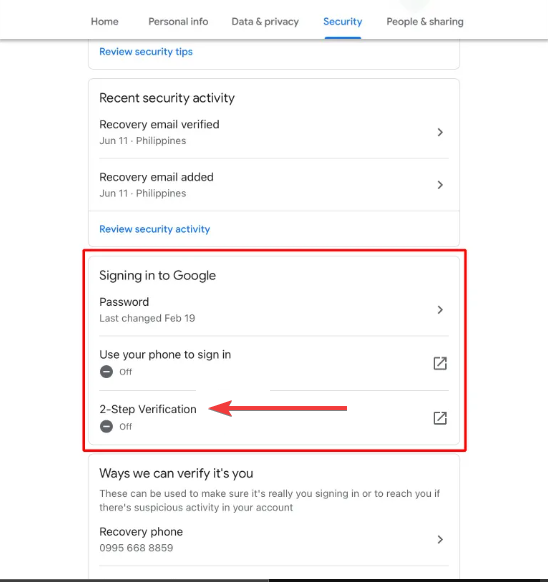
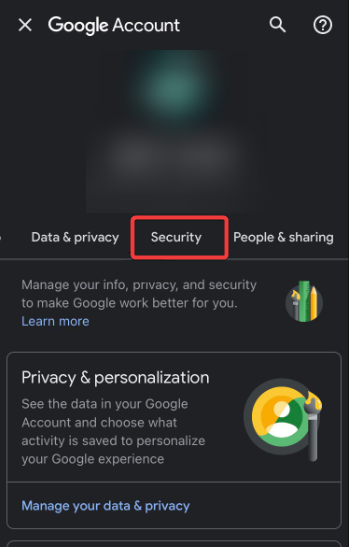
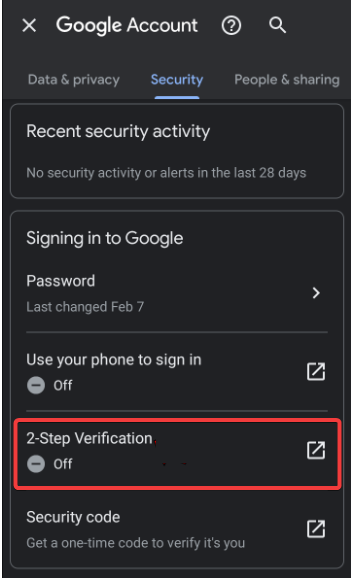
- Click on the Security tab on the left side of your screen, scroll down to the How you sign in to Google section and click on 2-Step Verification.
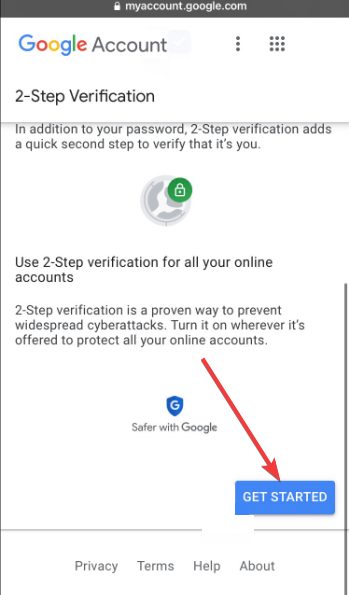
- If you have not previously set up 2FA, click on Get started to begin the process.

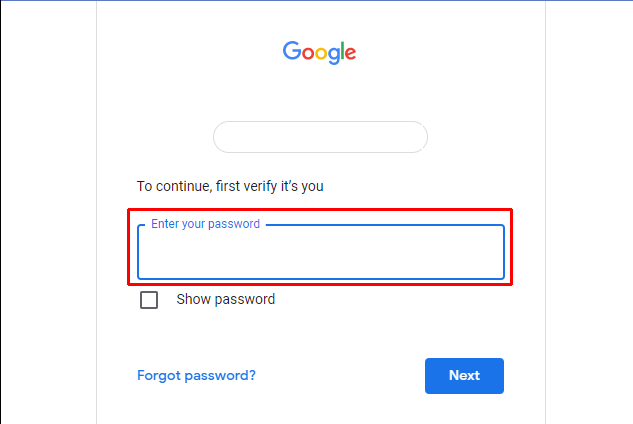
- Next, enter your password.
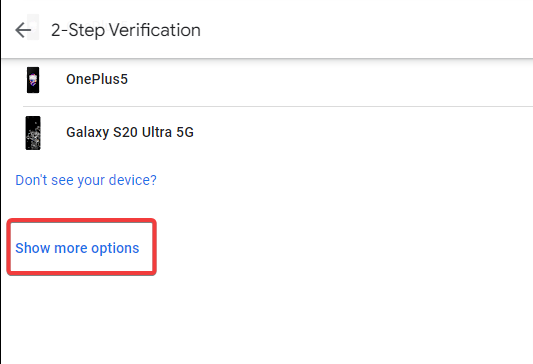
- Google Prompts will be displayed as your default 2FA method, and your device will appear on a list. You can select a different method by clicking on Show more options, then click on Continue.
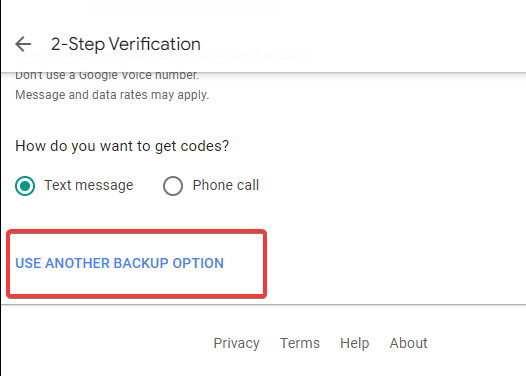
- Next, click on Use another backup option to get backup codes.
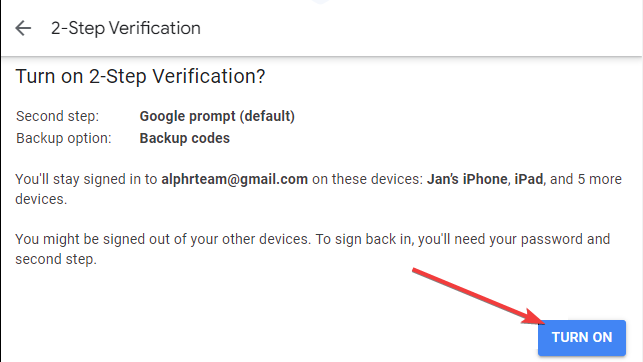
- On the next menu, click on the Turn On button.
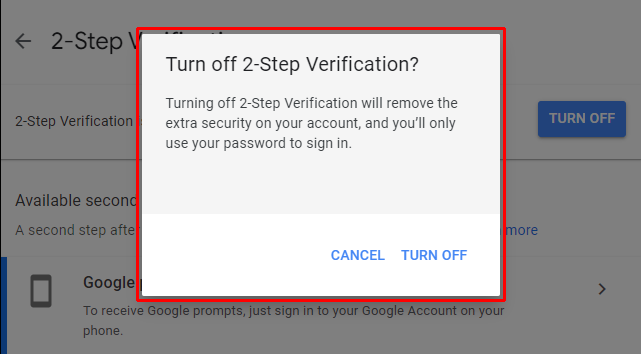
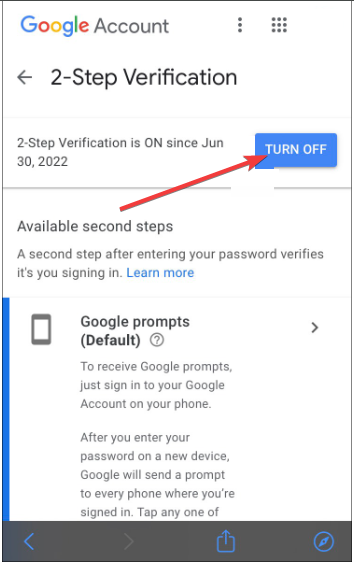
- If you want to disable 2FA, simply click on the Turn Off button.
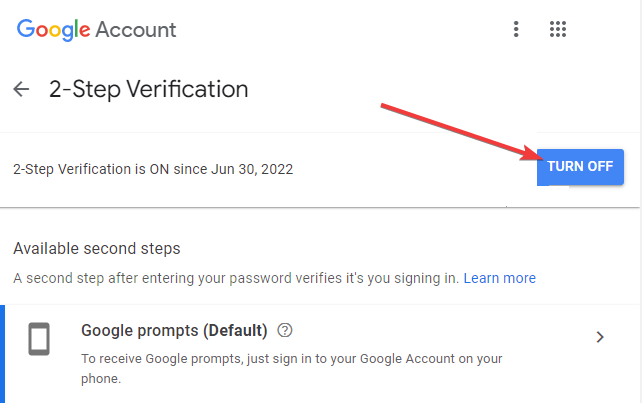
- Finally, select Turn Off again on the confirmation pop-up menu to complete the process.
2. Enable/Disable 2FA for Gmail on an iPad
Enabling or disabling 2FA on your iPad is quite easy. Follow the instructions below to learn how to do it.
- Launch Gmail on your device.
- Click on your profile picture, and select Manage your Google Account.
- Next, navigate to the Security tab at the top.
- Scroll down and select 2-Step Verification under the Signing in to Google section.
- Next, click on the Get started button if you have not already set up 2FA.
- Next, enter your password.
- Choose your preferred 2FA method, then click on the Use another backup option to get backup codes.
- Lastly, click on the Turn On button.
- To disable it, click on the Turn Off button.
3. Enable/Disable 2FA for Gmail on IOS
It is also possible to enable or disable 2FA on your mobile devices. The steps below will walk you through how to do this on an iPhone.
- Open Gmail on your device.
- Click on your profile icon at the top right corner of your screen and choose Manage your Google Account.
- Navigate to the Security tab.
- Scroll down and click on the 2-step verification option, then click on the Get Started button.
- Follow the instructions above to complete the process.
- To disable 2FA, click on Turn Off.
4. Enable/Disable 2FA for Gmail on Android
For Android users, the steps to enable or disable 2FA for Gmail do not differ from those above. A detailed explanation of the process is outlined below.
- Open Gmail on your device.
- Click on your profile icon at the top right corner of your screen and choose Manage your Google Account.
- Go to the Security tab.
- Scroll down and click on 2-Step Verification under the Signing into Google section.
- Click on the Get Started button, and follow the instructions outlined above to set up 2-step Verification.
- To disable this option, simply click on the Turn Off button.
What Are the Types of 2FA on Gmail?
You have several choices when it comes to configuring 2FA for Gmail. While SMS codes are arguably the most well-known example of this security feature, other methods exist for confirming your identity. The 2FA types that are available on Gmail are as follows:
- Get verification code via voice or text message – If you want a one-time code every time you log in to your account, you can provide Google with your phone number.
- Google prompts – Google uses this as their standard two-step authentication mechanism. Every time someone tries to log in from a different device, you’ll get a push notice on the devices you’re already logged in on. With a tap, you may approve or reject the effort.
- Security key – Another 2FA method is using a security key. This is a plugged-in device that verifies your identification. Additionally, some phones include built-in security keys.
- Authentication apps – Similar to SMS codes, apps like Google Authenticator produce distinct verification codes that can add an extra layer of protection to your account. Using authenticator apps is more secure.
- One-time backup codes -If you lose your mobile device, you can easily use backup codes to regain access to your account.
Enjoy Greater Security With Two-Factor Authentication
With the knowledge you have gained on how to enable/disable two-factor authentication on Gmail, you can solidify the security of your account and prevent hackers from stealing your data. This guide provides a step-by-step process for achieving high security on your device.
No, Gmail isn’t the only app that uses Google Authenticator. This flexible two-factor authentication (2FA) software works with several accounts and online services. It doesn’t require a Google Account and can generate tokens for many non-Google products, like Facebook, GitHub, etc.
Yes, you can use two-factor authentication (2FA) on Gmail to increase the security of your Google account. This provides an additional degree of security beyond merely your password. Follow the steps in this guide to enable/disable two-factor authentication on Gmail.